It seems that 360 degree videos are the big craze, a more immersive version of video that allows you to look all around as if you were really there. The Kodak Pixpro SP360 is an affordable 360 degree camera if you want to try out shooting 360 video.
It makes a great gift for anyone that’s already into video and wants to try something new. I was sent a Kodak Pixpro SP360 to try out and here’s my review with some tips to get you started.
Unboxing the Kodak Pixpro SP360
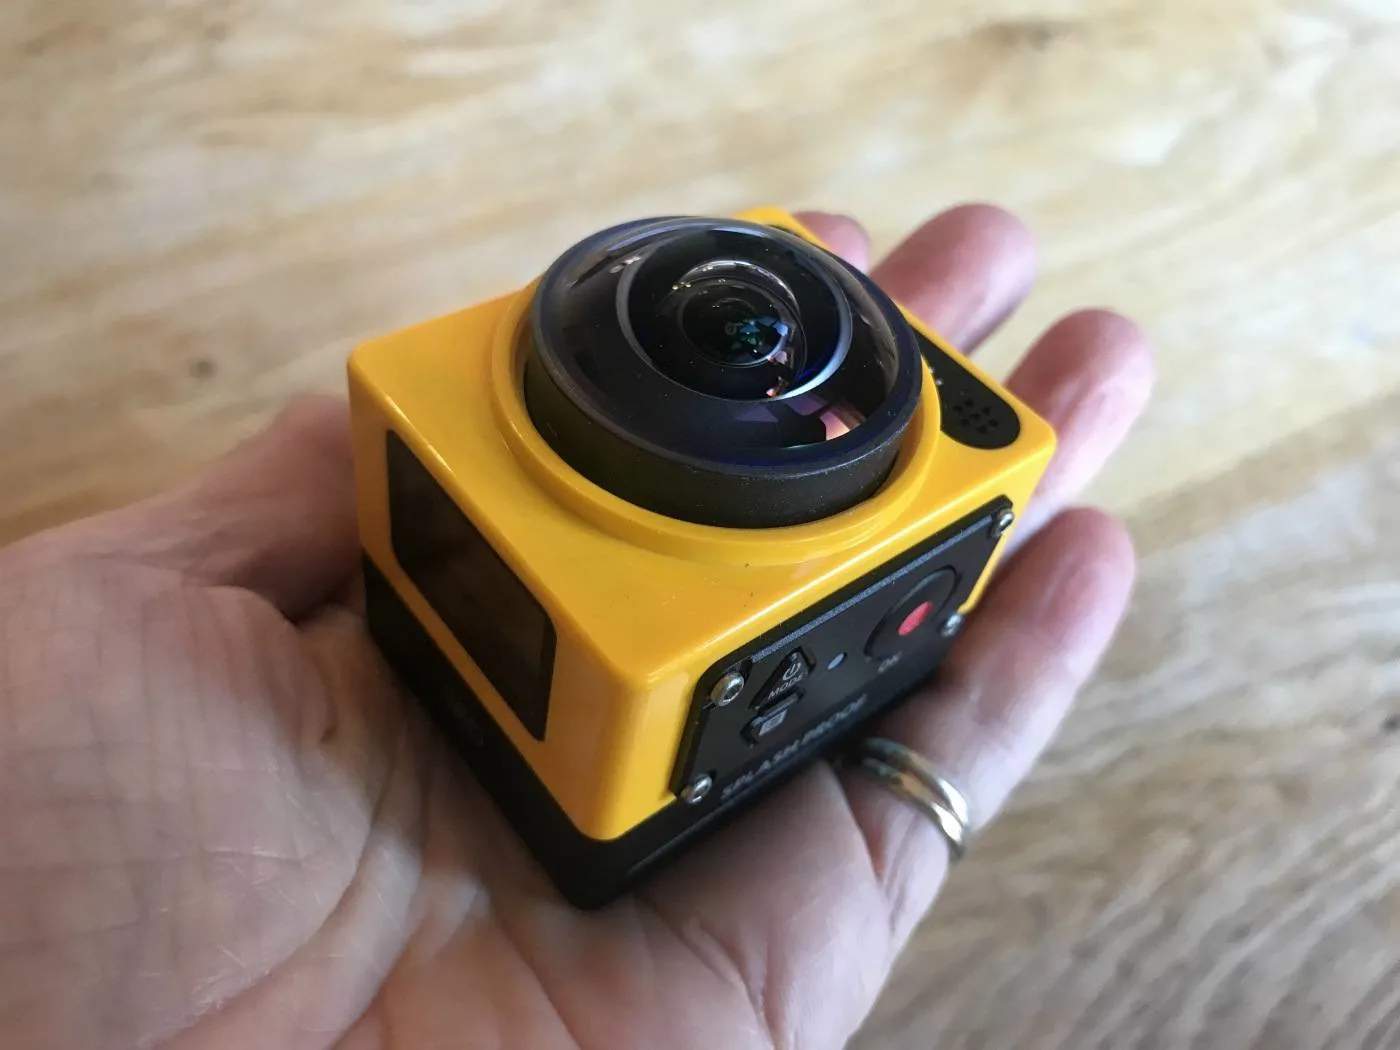
The Kodak Pixpro 360 camera fits easily in the palm of the hand, with a square body and a domed lens on the top. There’s a black cap and under that a clear cap to protect the video lens.
This is a great idea since you can set up the shots with the clear lens cap on then take it off just for the filming. It’s really important to keep the video lens free of smudges and finger prints to give the best quality for your video.
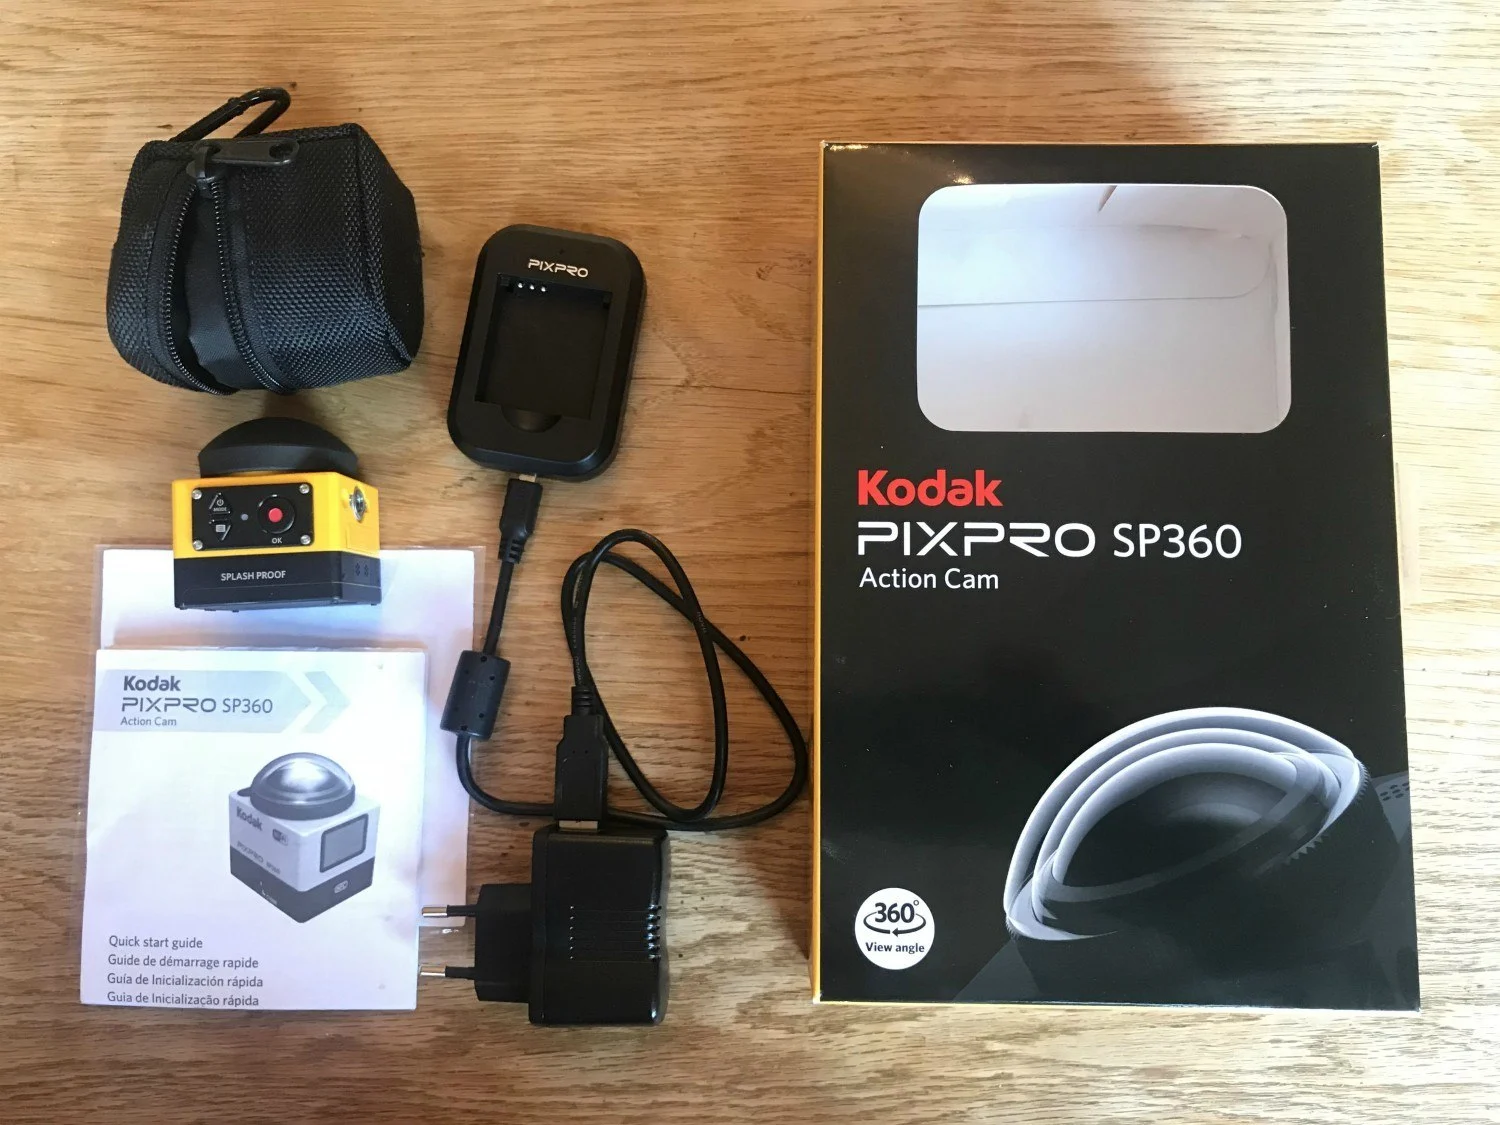
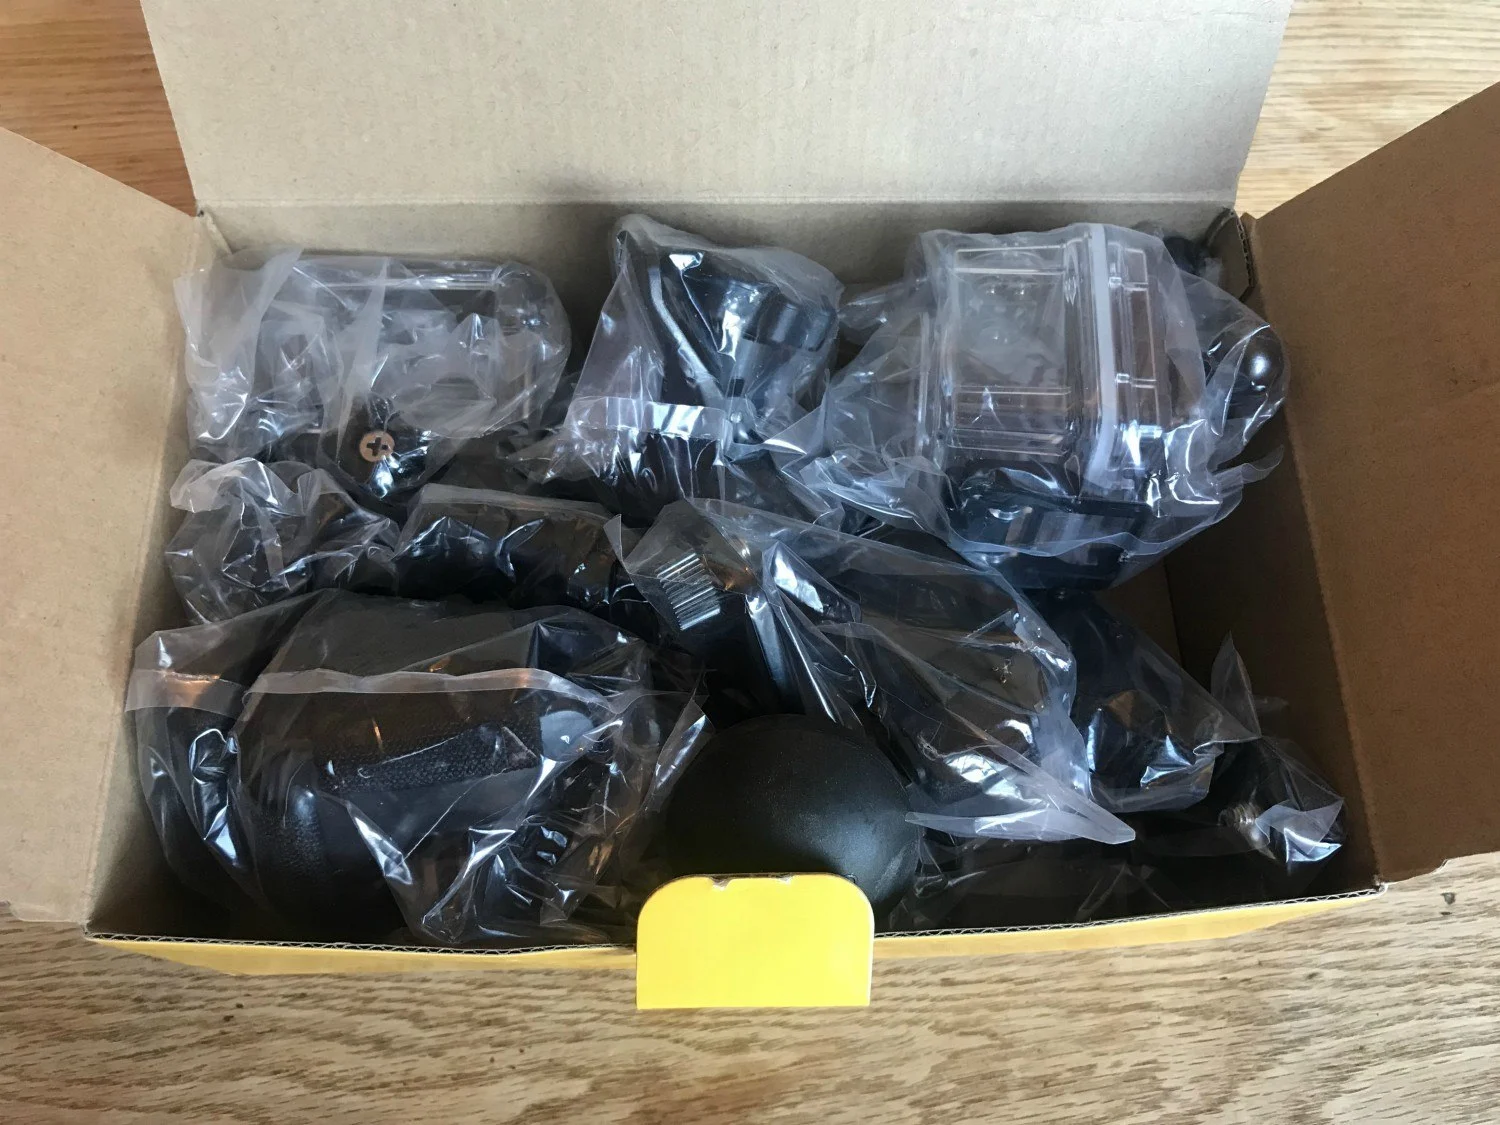
I received the “Extreme” box of accessories which would enable you to use the camera when cycling or attached to a helmet if climbing or kayaking.
A waterproof housing allows you to use the camera for water sports such as surfing or snorkelling and the camera on its own is splash proof.
With the camera there were some other necessities such as a battery charger, cleaning cloth and padded protective case.
Bristol Harbourside Video with Kodak Pixpro SP360
To give you a feel for the kind of video that you can shoot with this camera take a look at my video below, shot around Bristol Harbour side and on SS Great Britain. This is a location which I thought would provide plenty of interest to show off the 360 degree views.
The video below was converted to show the full 360 effect (more about how to do this later in the article). Bear in mind that the 360 degree playback on YouTube is only available on certain browsers such as Chrome, Firefox, MS Edge and Opera.
If you try to playback in Safari on your laptop you won’t get the full 360 degree effect. If you are viewing in 360 on a laptop there will be a circle with navigation arrows on the top left of the video, but it’s even more fun to view on mobile as you can move around the shot just by tilting the phone.
View on YouTube – Bristol Harbourside with Kodak Pixpro SP360 (360 version)
Here’s the same video but this time I did not convert it to show the full 360 effect. It just appears like a normal video with a fish eye effect.
View on YouTube – Bristol Harbourside with Kodak Pixpro SP360 (non-360 version)
Getting Started with the Kodak Pixpro SP360
On unboxing the Kodak SP360 I found that there is only a Quick Start leaflet that comes with the camera. You are probably best to download the full user manual for reference – download the Kodak SP360 manual here.
You need to also buy a micro SD card that’s up to 32GB in size (don’t make my mistake of buying anything larger as it won’t work). If you’re buying the Kodak Pixpro SP360 as a gift, I’d add a 32 GB micro-SD card to your order. Then, the person receiving it can get out and shooting video straight away.
Download the mobile app
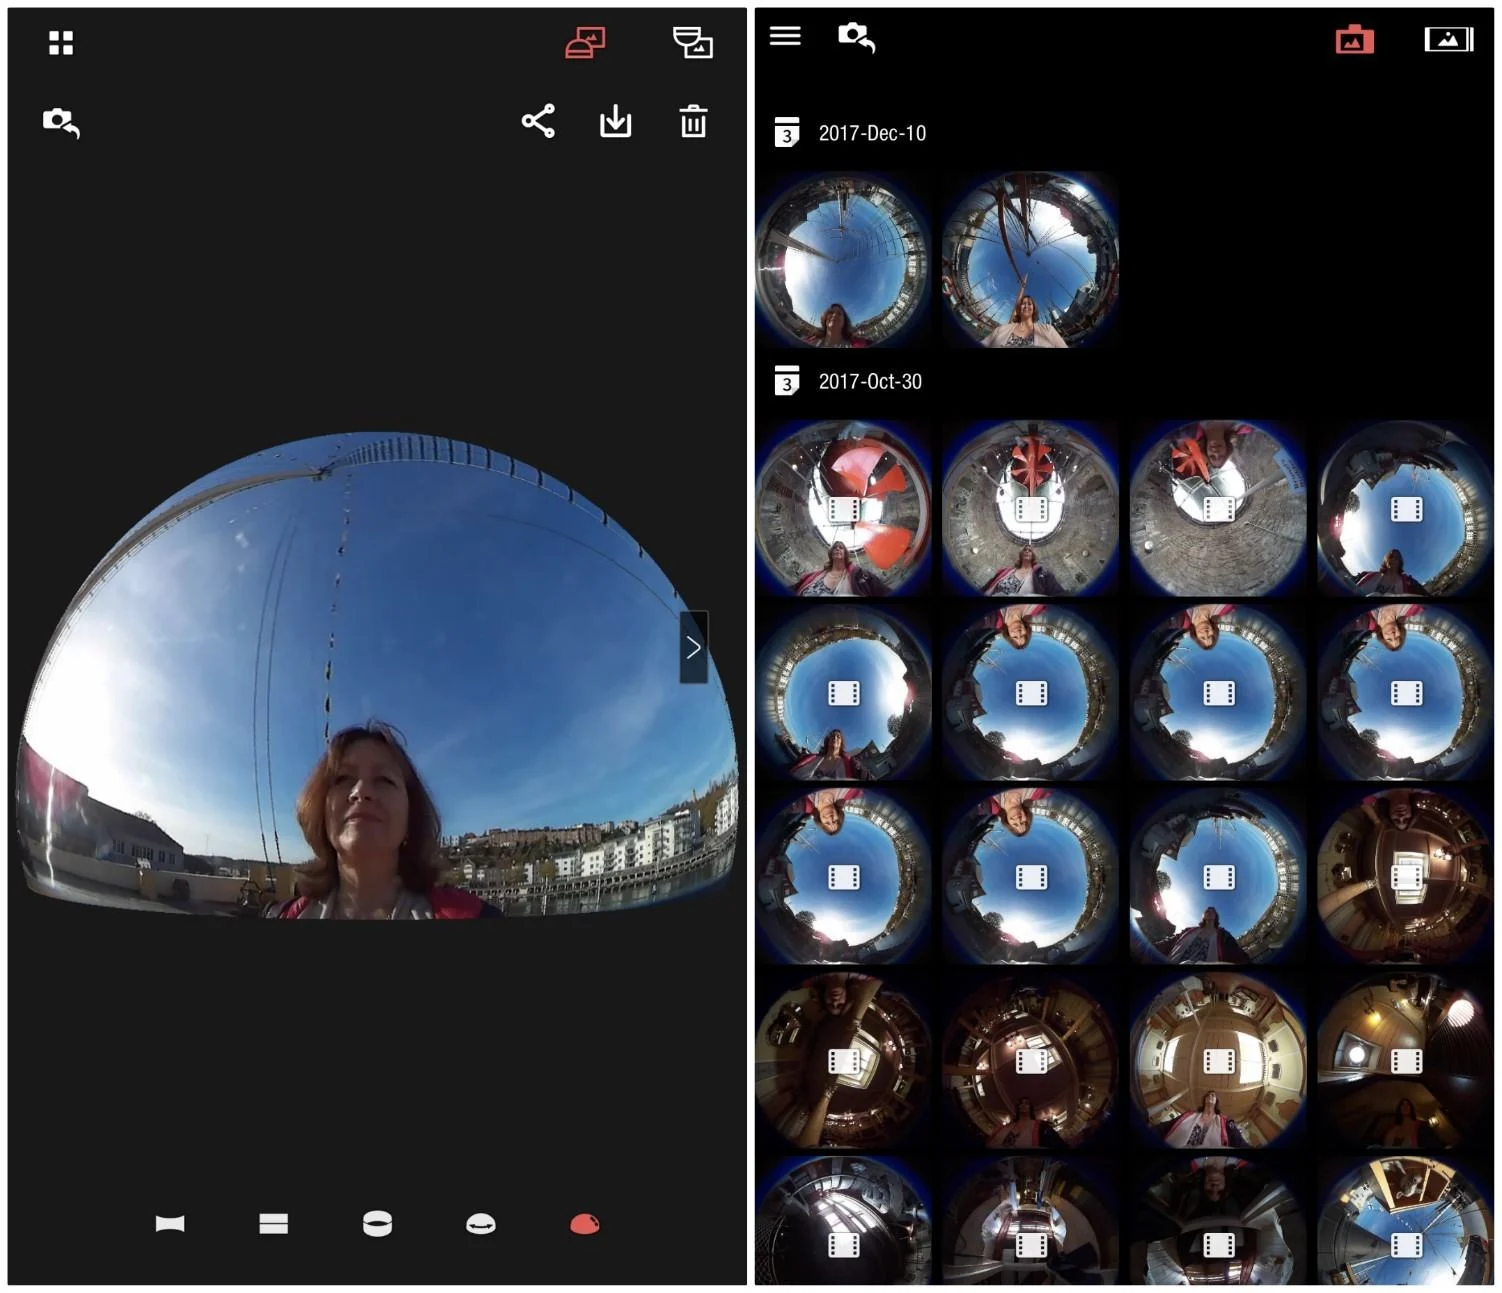
The next thing that I highly recommend that you do is to download the mobile app. This will allow you to control the camera from your phone. Without the mobile app it’s very difficult to work out the controls. However, with the app it’s pretty intuitive.
Download the mobile app on iTunes for Apple or on Google Play for Android
Once I had the mobile app it was straightforward to connect the camera to my phone via wifi and use the mobile to control the camera. You can also see what you are shooting on the mobile screen which makes it much easier.
I started shooting in Panorama mode which gives options when editing to add different effects such as ring mode or split screen. There is the option to shoot in front mode which just gives a fish eye look. You can also shoot in panorama and then get the fisheye look by missing out a step in the video editing.
I won’t go into all the functions of the camera, as it’s fairly intuitive once you are looking at the controls through the mobile app. The video below will give you a good overview.
Video: How to get started with the SP360 – Part 1
Getting out and about with the Kodak Pixpro SP360
Once I had downloaded the mobile app I experimented with shooting a few video clips. The great thing is that you can replay them immediately on your mobile to see how they look.
I shot the video with the lens pointing upwards which seemed to give a good effect. You can play around and see how it looks on the mobile screen or on replay. There’s a mounting screw fitting on the camera to attach to a tripod or selfie-stick.
Tips for using the Kodak Pixpro SP360
Video: How to capture great videos with the SP360 – Part 2
Download Kodak Pixpro SP360 software
The first thing to do once you’ve shot some footage with your Kodak SP360 camera is to download the special software to manage your footage. You can find the download here.
- Click on the tab that says PIXPRO Software downloads for PC/ Mac.
- The yellow icons are for the Pixpro 360 which is the camera I reviewed. The blue icons are for Pixpro 360 4K which is the more recent camera version.
- Check the column headings to see whether you are downloading for Windows or Mac.
- You can also download the user manual to help you use the software.
Connecting the Kodak Pixpro SP360
Once I’d downloaded the software, it was straightforward to transfer the video footage I’d shot. I connected the camera to the computer with the mini USB cable that came with the camera. An alternative is to remove the micro SD card from the camera and connect it via an SD card reader to the computer.
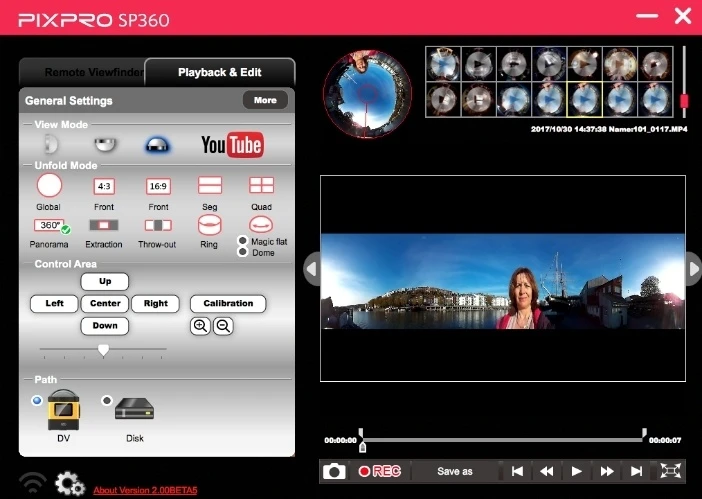
Once the camera is connected, look at the the screen of the PIXPRO Software. Click on either DV (if you’ve connected direct from the camera) or Disk (if you’ve connected via the Micro SD card). This is found under Path at the bottom.
Process your video clips
The PIXPRO software will allow you to process the video clips in different ways and then save them as an MP4 file. If you want to create a 360 video you need to save the clips in Panorama mode. If you save them in Extraction mode you won’t get the correct 360 effect.
You’ll then need to upload them to your normal video editing software (I use Final Cut Pro.) Then you can edit into a video with multiple clips, like the one I made of Bristol Harbour side.
Manage and edit your footage
Video: How to Edit and Manage SP360 Footage – Part 3
Once you’ve downloaded your finished video from your editing software, there’s another step in the editing process before you can upload to YouTube. You’ll need to ensure that your video can be viewed with the full 360 effect.
Upload 360 videos
I consulted the YouTube Help on how to upload 360 videos and these were the steps.
- Download the 360° Video Metadata app for Mac or Windows.
- Unzip the file (named Spatial Media Metadata Injector), then open the 360 Video Metadata app. If you’re on a Mac, you may need to right-click the app and then click Open.
- Select the video file.
- Select the tick box for Spherical and click Inject Metadata. Do not select the ‘3-D Top-bottom’ tick box. For more information, refer to upload instructions for virtual reality videos.
- Enter a name for the file that will be created.
- Save the file. A new file will be created automatically in the same location as the original file.
- Upload the new file to YouTube.
As I mentioned earlier the 360 degree playback on Youtube is only available on certain browsers. Chrome, Firefox, MS Edge and Opera are supported. If you try to playback in Safari you won’t get the full 360 degree effect.
Upload your videos to Facebook
Facebook is a great place to share so that your friends can get the full 360 degree effect from mobile. Find instructions to upload the video here.
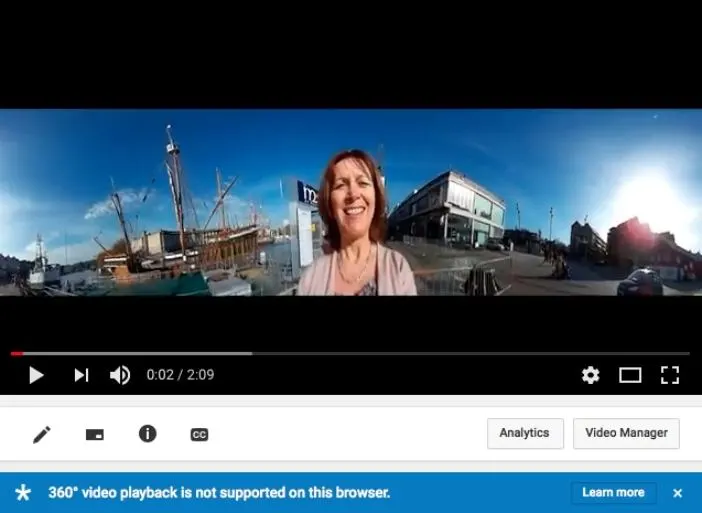
This is what the video will look like in YouTube if you are viewing in a browser such as Safari that does not support 360 viewing in YouTube.
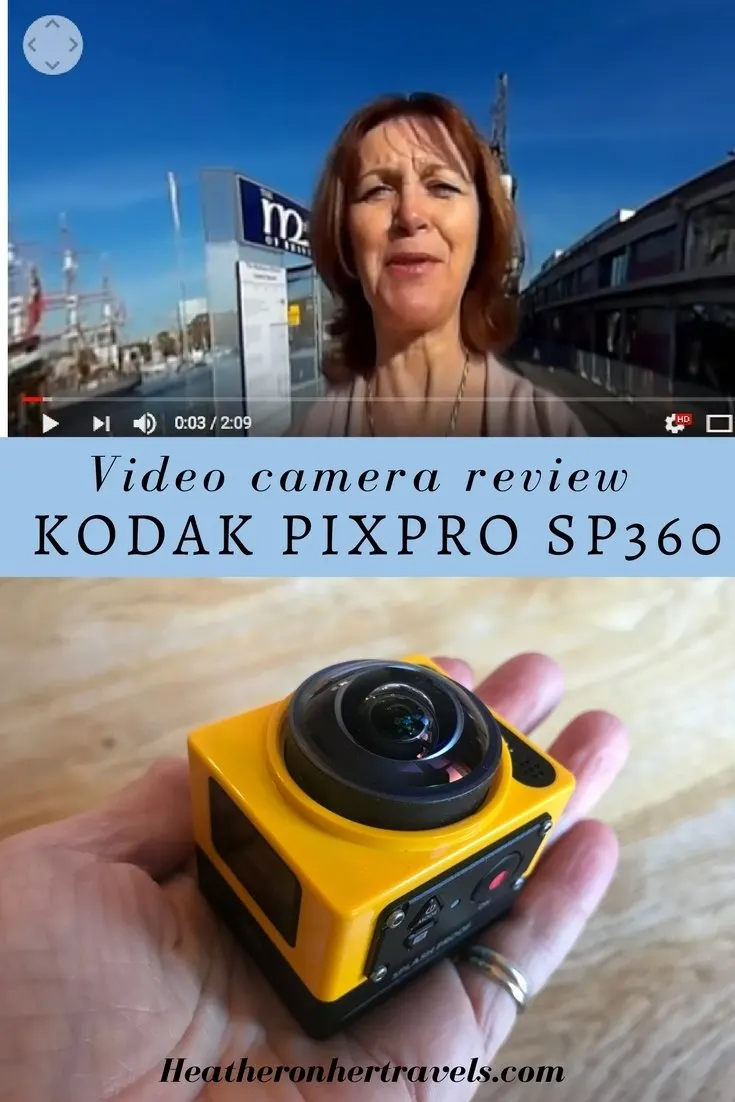
This is what the video will look like in YouTube if you are viewing in a browser such as Chrome, Firefox, MS Edge and Opera that supports 360 viewing in YouTube. Note the circle with navigation arrows on the top left of the video.
The Verdict on the Kodak Pixpro SP360
It took me a while to become familiar with the the Kodak Pixpro SP360. But, once I’d got the mobile app it all became a lot more fun and easy to understand. The editing process could be a little challenging for someone who is completely new to video.
I’d recommend 360 cameras as a great extension to your repertoire if you already have fun with video on your mobile. Or perhaps another camera such as a Gopro, and are familiar with the basics of video editing.
The Kodak Pixpro 360 would also make a great gift for someone who enjoys making basic videos and wants to branch out into shooting in 360.
You can find out more about the Kodak Pixpro range here and buy the Kodak Pixpro SP360 camera on Amazon here
Pin It
Disclosure: I was given* a Kodak Pixpro SP360 camera for the purpose of this review.
* More info on my policies page
This article is originally published at Heatheronhertravels.com



Alex
Friday 9th of August 2019
Thanks for sharing such a great article. Go Pro Fusion